Before I picked up a camera, I spent several years at Manhattan Bride magazine, where I wore a lot of hats. One of them was beauty editor. I tested hundreds of products, worked alongside professional makeup artists on shoots, and learned firsthand how makeup behaves under a camera lens versus in real life. Spoiler: they are not the same.
Now I bring all of that into my portrait work. And the number one thing I tell every client before their session is this: the camera is unforgiving about texture and shine in a way that a mirror simply is not. Bright outdoor light and a sharp lens will find every dry patch, every bit of shine, every place where foundation has settled into fine lines. The good news is that with the right preparation, none of that has to be yours to worry about.
I can retouch your skin in post-processing, and I do. But when you show up feeling polished and prepared, something else happens too: you feel more confident. And confidence is the thing the camera loves most.
Here is what I know works.
Start with the canvas
Every great makeup artist I ever worked with at Manhattan Bride spent as much time prepping the skin as actually applying makeup. When I saw that, I knew the final result was going to be beautiful. The makeup is only as good as what it goes on top of.
A few days before your session, exfoliate. If you dermplane, this is a great week to do it. You want your skin as smooth and even as possible before anything else touches it.
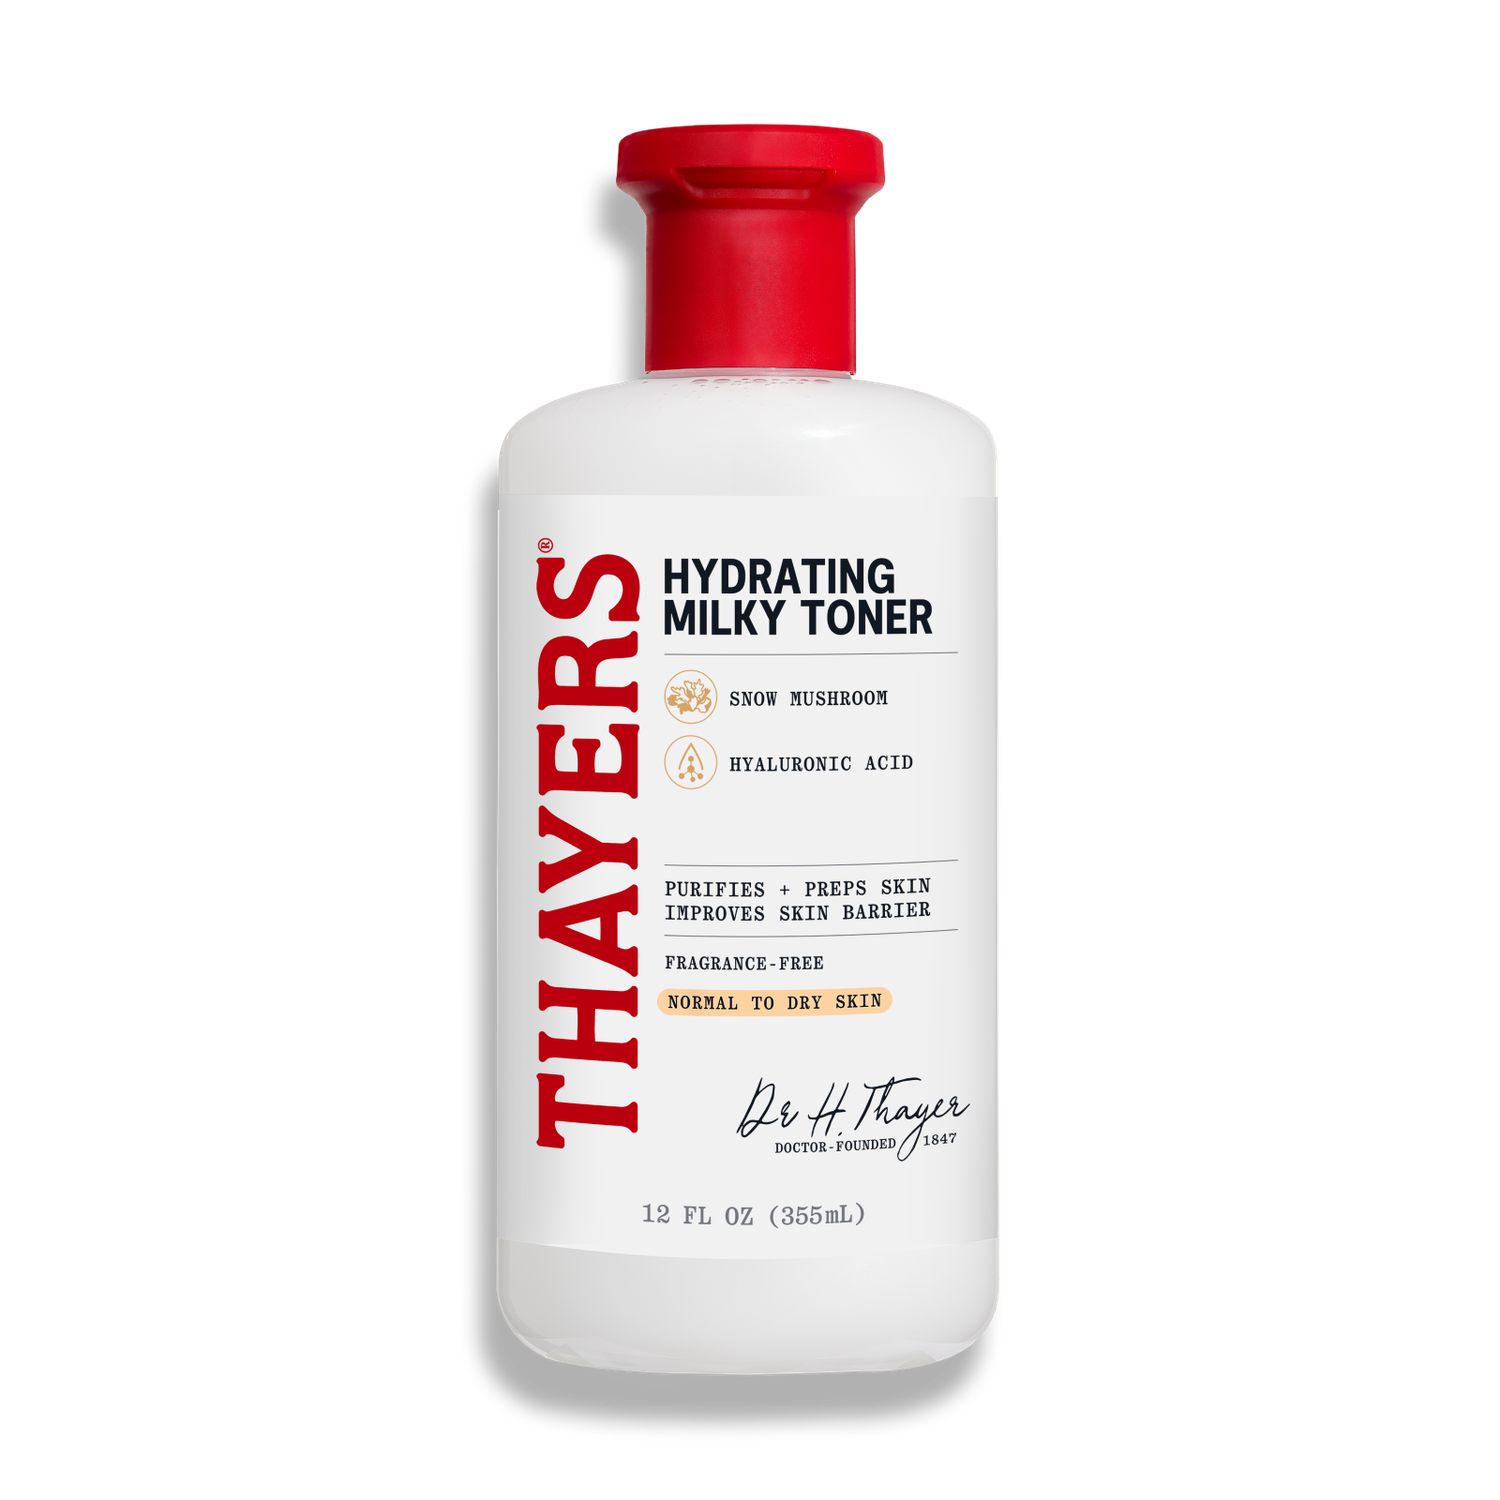
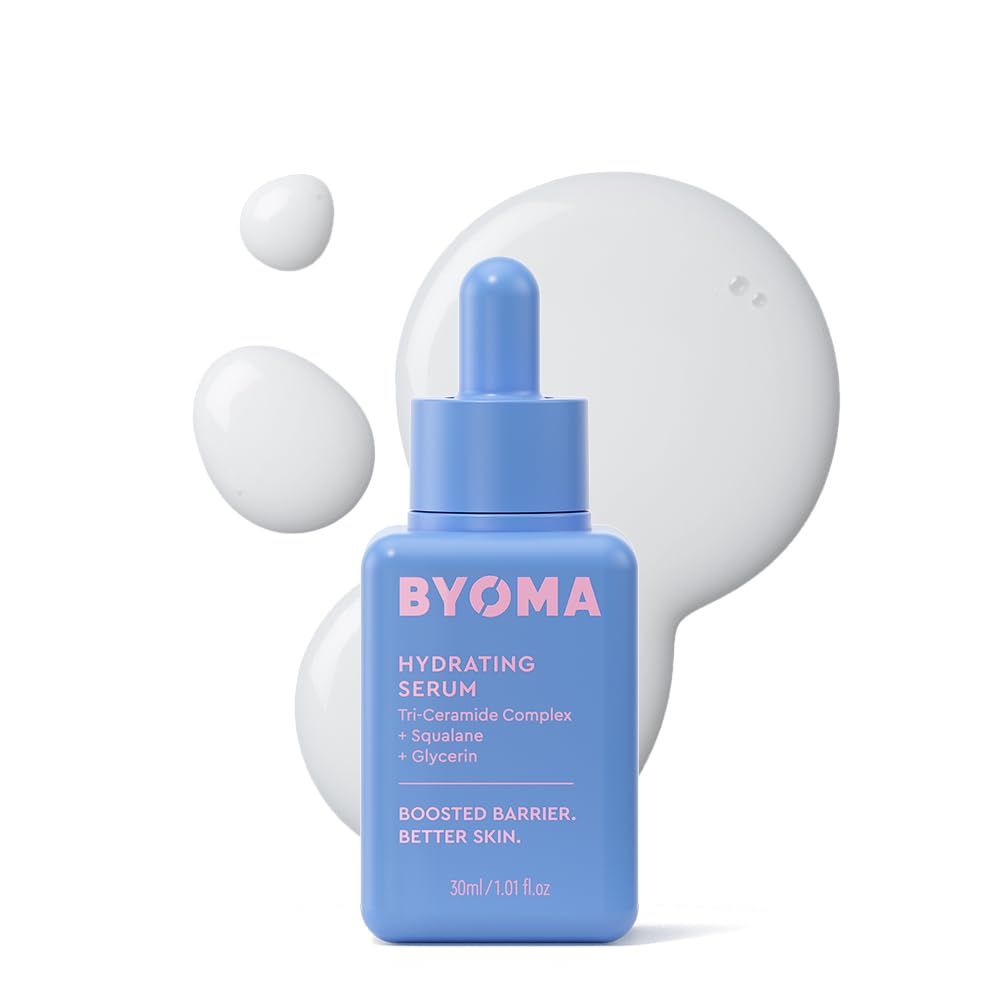
On the day of your session, your skincare routine matters more than you might think. Here is the sequence I recommend: a milky toner first to balance and hydrate, then a few drops of a good hydrating serum, then your moisturizer, then SPF. Your skin should be moisturized within an inch of its life before you open a single makeup product. It should feel plump, smooth, and almost dewy to the touch.
This is not just about looking good. It is about longevity. Well-hydrated skin holds makeup differently. It does not grab powder and turn chalky. It does not let foundation oxidize and go orange. It gives your makeup somewhere beautiful to live for the duration of your session. I also recommend doing your makeup early in the day, well before you need to leave. This is especially true for moms, who know better than anyone how quickly the hour before you walk out the door can unravel. If your makeup is done by noon and your session is at seven, all you need to do before you leave is a quick touch-up. You arrive calm, not frantic, and it shows.
Apply in thin layers
This is the tip that separates a makeup application that photographs well from one that looks heavy or masklike on camera.
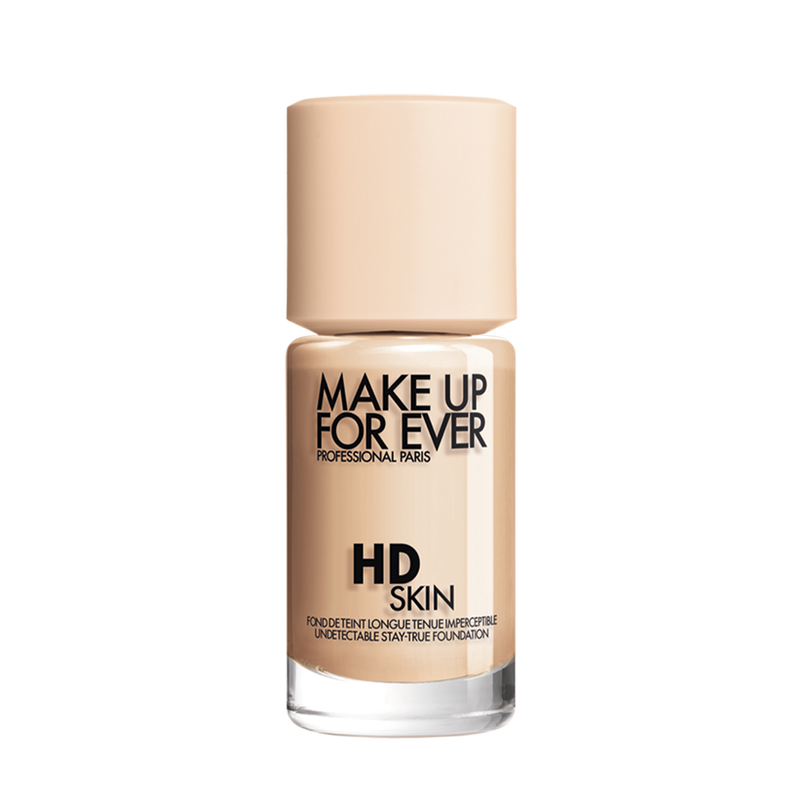
For any liquid or cream product, whether that is foundation, concealer, blush, or bronzer, squeeze a small amount onto the back of your hand rather than applying directly to your face. Then dip a brush into it and tap, not swipe, it onto your skin. Tapping builds coverage gradually and keeps the product sitting on top of the skin rather than being dragged across it.
Build in thin layers until you have the coverage you want. It takes a little longer but the result is skin that looks like skin, just better.
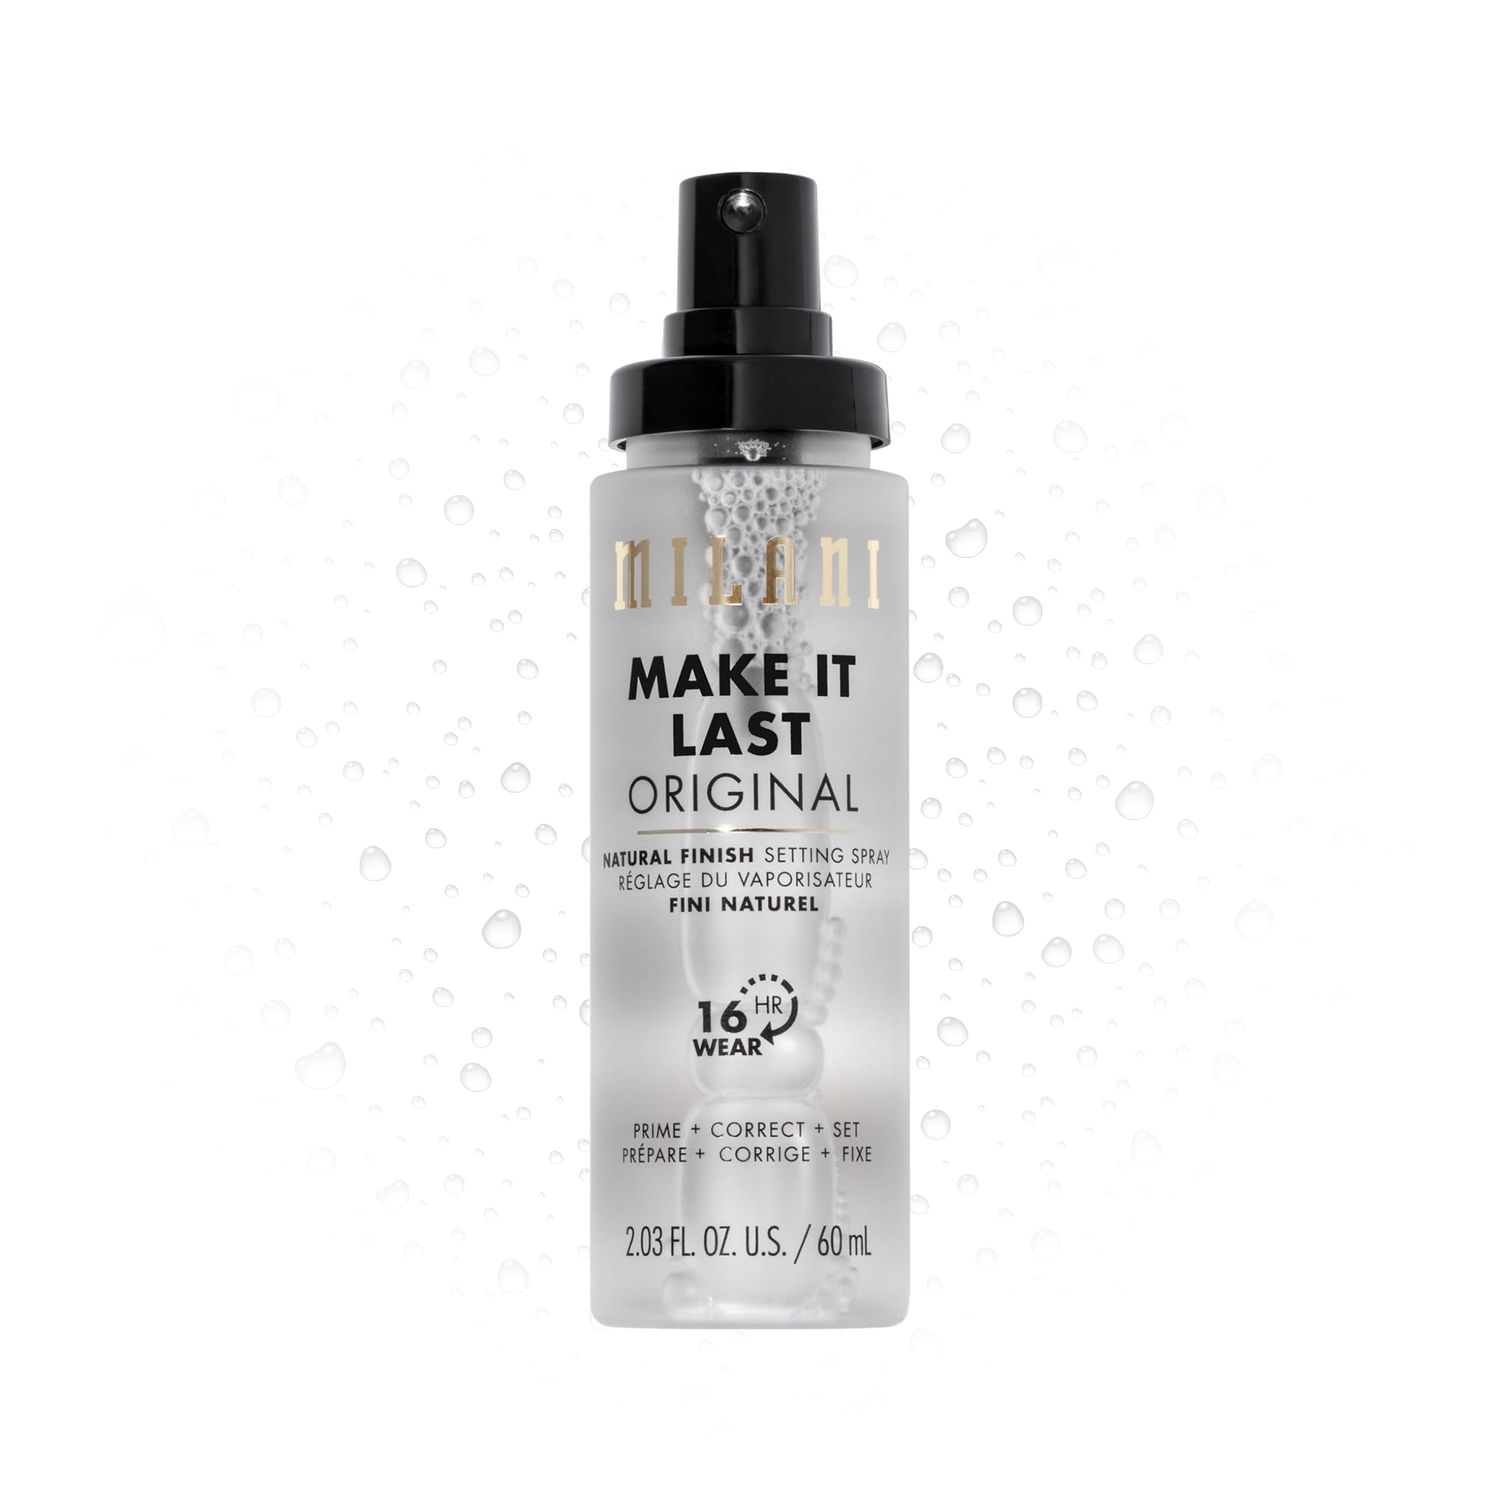
Once all of your cream and liquid products are applied, apply two different setting sprays before you touch any powder. This step locks in everything underneath and creates a barrier so that when you apply powder on top, it does not mix back into the cream layers, pill, or look cakey. On camera, cakey foundation is one of the hardest things to work around in post-processing. The double setting spray is your insurance policy against it.
Then apply your powder products lightly. A little goes a long way, especially outdoors.
Do not neglect your eyes
The camera finds the eyes first. Every time. They are the emotional center of a portrait and they deserve real attention.
I am a strong believer in false lashes for portrait sessions. You do not need anything dramatic, a natural strip lash or individual lashes at the outer corners add definition and lift that reads beautifully in photos without looking costume-y in person.
If false lashes are not your thing, here is one of my favorite tricks. Take a clean mascara wand and wipe off all the product so it is completely dry. Run it through your lashes to separate and lift them. Then heat up your eyelash curler, I love the Shu Uemura, and curl your lashes while they are clean and dry. Heat helps the curl last significantly longer than curling cold. Then apply one or two coats of your regular mascara over the top. The result is lashes that look naturally full and lifted without feeling like you are wearing anything extra.
For eyeliner, I recommend tightlining the entire upper waterline, which means applying liner directly at the base of your upper lashes to fill in any gaps between them. It makes your lashes look fuller and your eyes more defined without looking heavily lined. Use black if your hair is dark, brown if you are blonde or have lighter coloring. Before you tightline, dry your lower waterline gently with a tissue first. This helps everything stay in place and prevents the liner from transferring. Then set the whole eye with a light dusting of powder to lock it in.
A little definition in the crease also helps on camera. Nothing dramatic, just enough to give the eye dimension so it does not look flat when the light hits it.
What to bring to your session
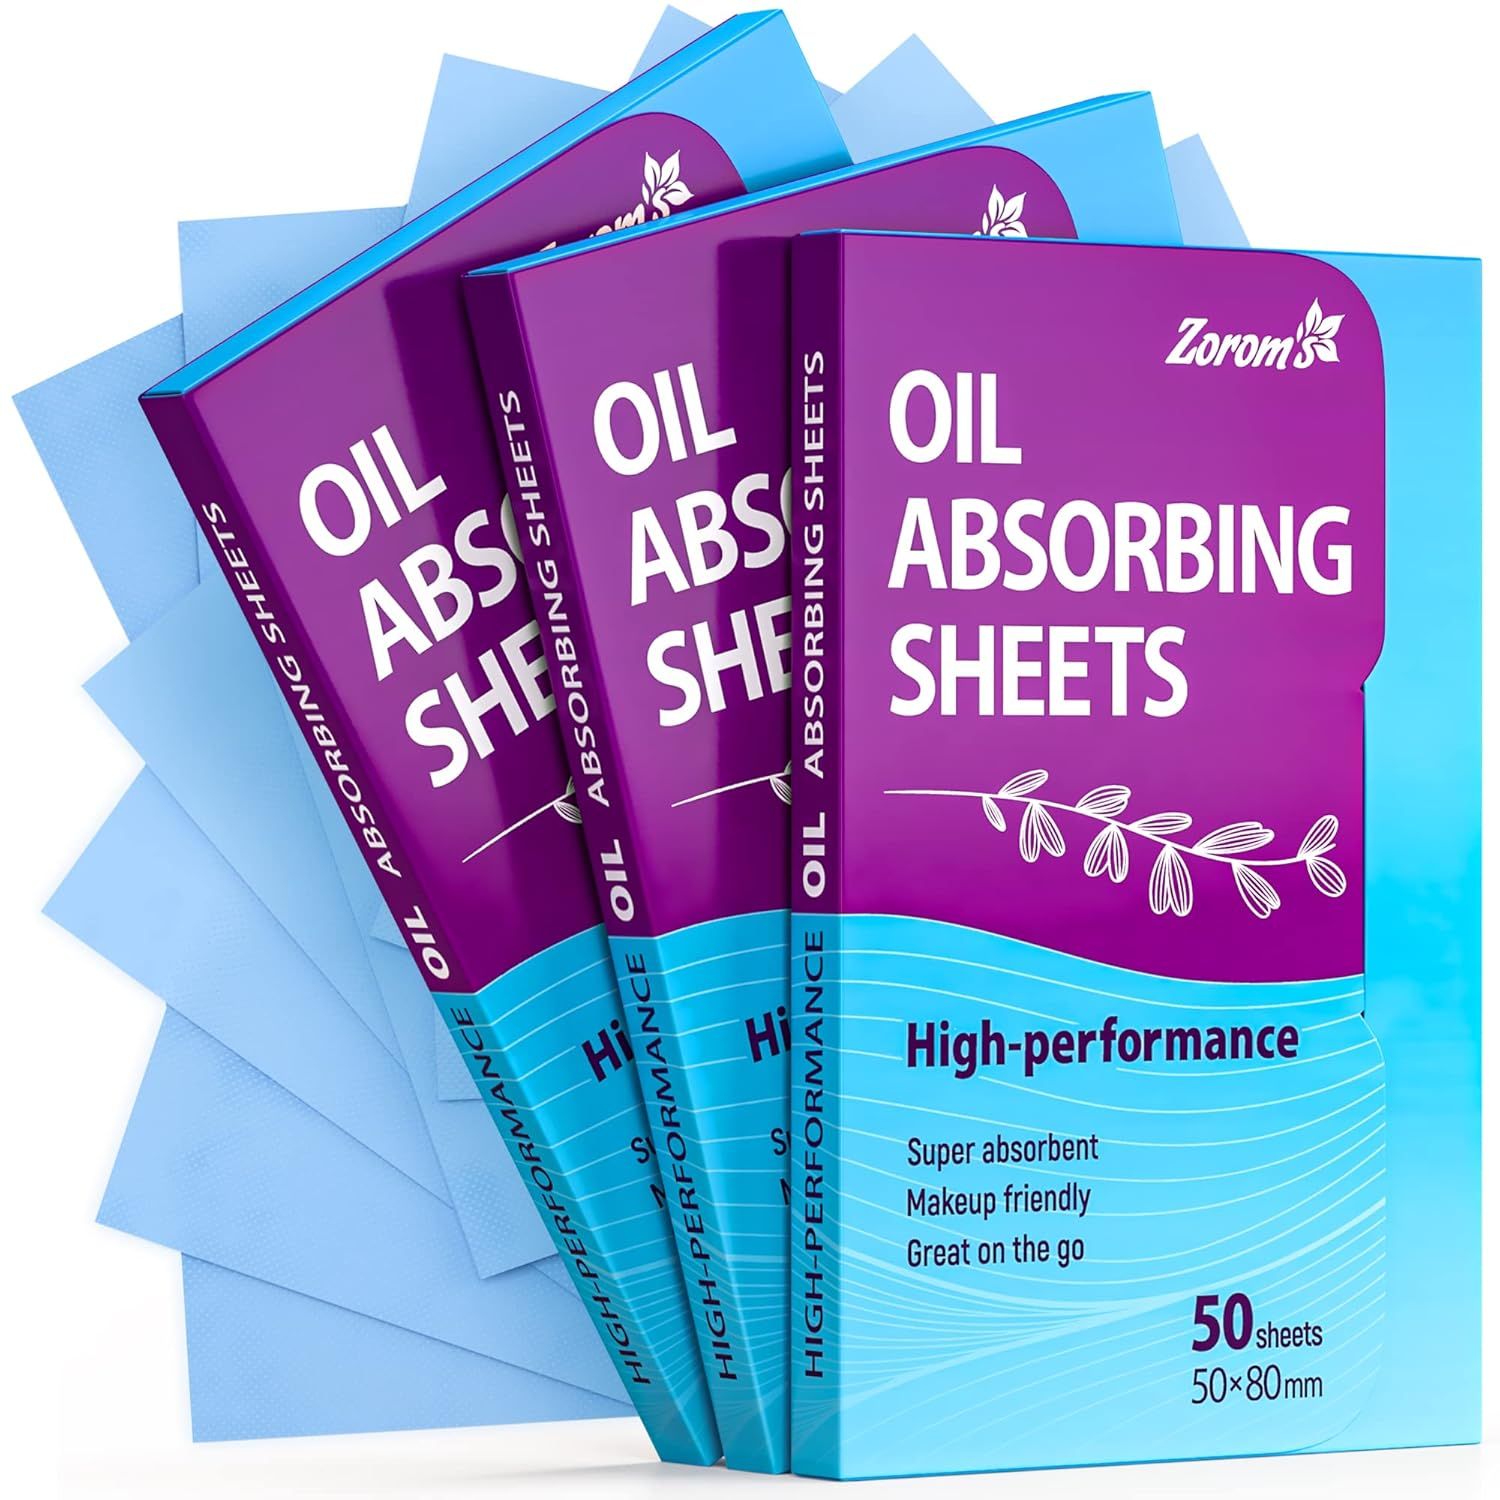
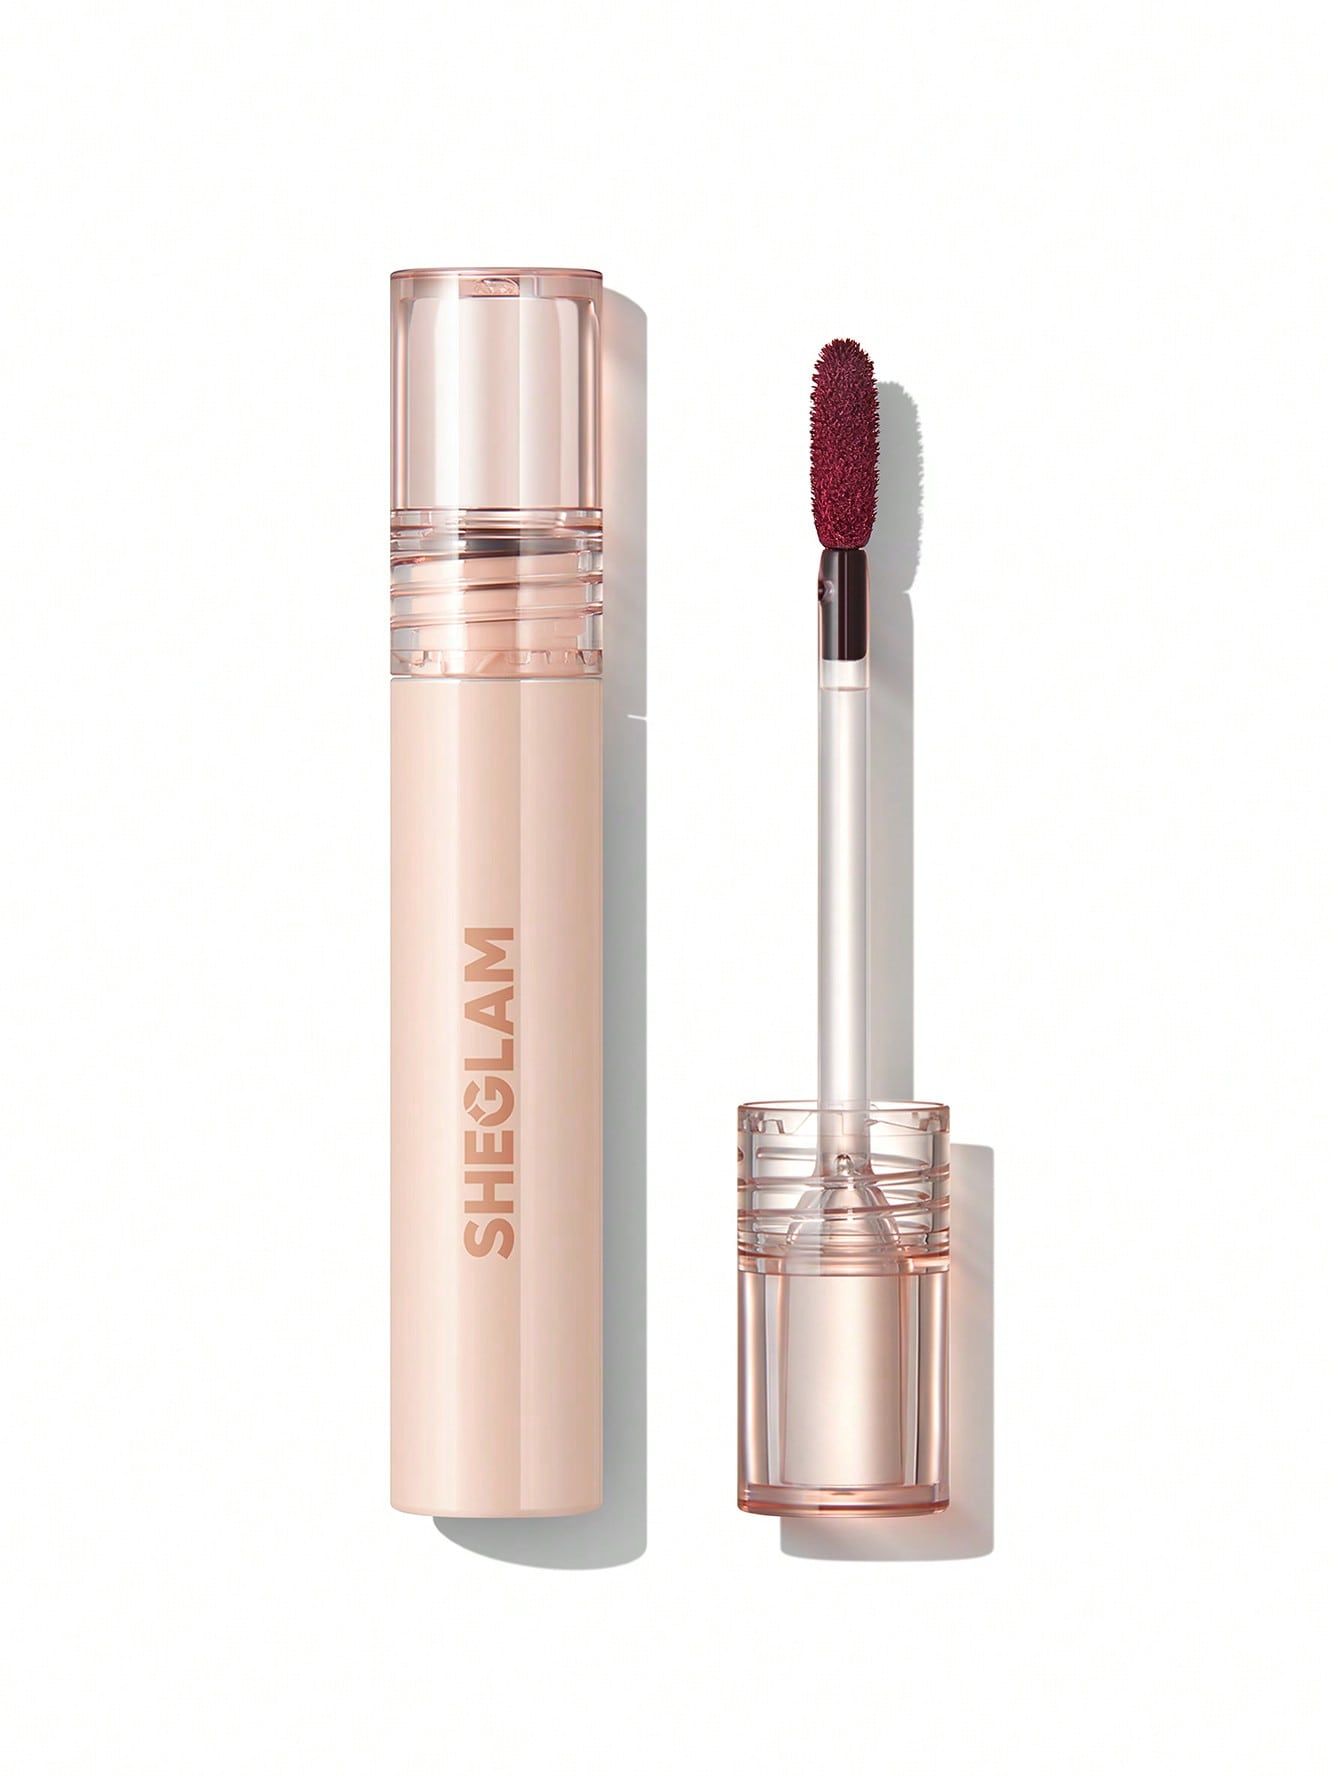
Bring your setting spray, a blotting paper, your powder, and whatever lip product you wore. Connecticut in the summer is humid, and even the best makeup needs a refresh after an hour outside. A quick press of blotting paper, a dusting of powder, a touch of lip color, and a spritz of setting spray between locations takes less than a minute and keeps everything looking fresh through the end of your golden hour shoot.
And I will always have a mirror with me so you can give yourself a good look before we get started. Because when you feel good, it comes through in every single frame.